
Grooved couplings connect prepared pipe ends using a mechanical link instead of welding. A standard joint features grooved pipe ends, a rubber gasket, a ductile-iron housing, and fastening bolts. VICAST’s XGQT02 flexible grooved coupling comes in sizes ranging from 1 to 12 inches (DN25 to DN300). It has an operating temperature range of -20°F to +180°F (-29°C to +82°C). The listed materials include ASTM A536 Grade 65-45-12 and ASTM A395 Grade 65-45-15. Meanwhile, the referenced design standards cover ISO 6182, AWWA C606, and GB 5135.11.
The steps below outline a basic grooved coupling installation process. However, specific gasket choices, lubrication needs, bolt-tightening methods, and inspection rules must always match the instructions for the exact coupling. They must also follow the approved project specification.
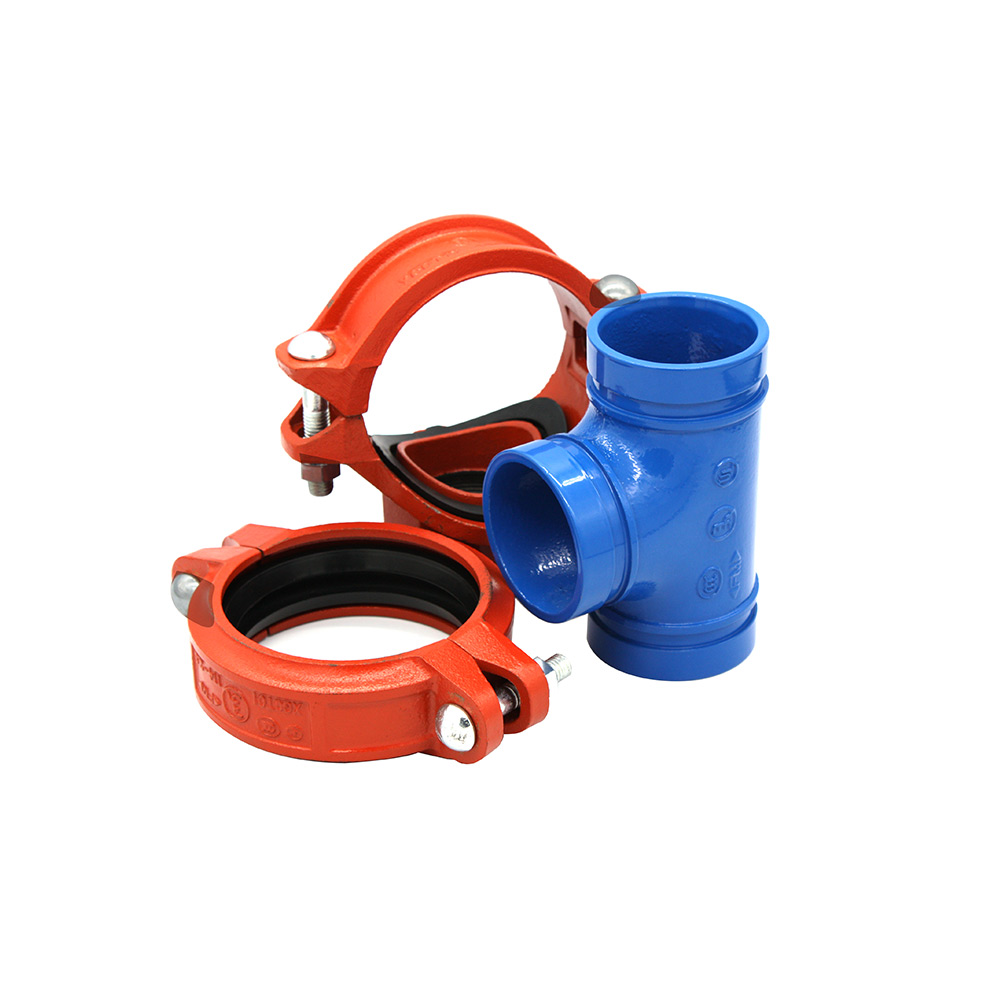
What Should You Check Before Installing a Grooved Coupling?
Proper preparation forms the base of a secure joint. Before starting assembly, you must verify the pipe size. You should also check the groove profile, the coupling type, the gasket, and the expected working conditions.
Is the Pipe Groove Ready for Assembly?
Examine both pipe ends carefully. The grooved section needs to be clean. It must be free of loose scale, dirt, metal shavings, sharp burrs, or visible flaws. Groove shape is very important. The housing keys have to fit into the grooves perfectly. VICAST technical documents point out several issues. An incorrect pipe outside diameter or wrong groove dimensions can cause problems. Improper gasket placement, poor alignment, or thick coating layers can also prevent a housing from closing completely.
Have You Confirmed the Correct Coupling and Gasket?
Make sure the coupling size and style fit the overall system design. Flexible and rigid couplings handle different joint needs. This remains true even if they fit the exact same nominal pipe size.
The gasket must also match the transported fluid and the working temperature. Never assume that any gasket or lubricant will work for every fire protection, HVAC, or industrial setup.
How Do You Install a Grooved Coupling Step by Step?
Once the pipe ends and parts pass a close check, assembly can start. The primary goal is to keep the gasket seated properly. At the same time, the housing must engage both grooves equally.
Step 1: Clean and Inspect the Pipe Ends
Wipe the pipe ends and the groove area completely clean. Clear away any dirt and debris from the gasket seating surface. If a pipe end or groove shows damage, fix the issue before assembly. Do not try to force the coupling onto a bad pipe.
Step 2: Inspect and Position the Gasket
Look over the gasket for cuts, tears, shape changes, or dirt. If you need lubrication, apply only a lubricant approved for that specific product. Slide the gasket over one pipe end. Push it back far enough so you can bring the two pipe ends together. Do this without twisting the rubber gasket.
Step 3: Align the Pipe Ends
Move the two pipe ends into the correct position. Support the piping securely. Any major misalignment needs fixing through pipe supports or layout changes. Do not use the coupling bolts to drag the pipes into place.
Step 4: Center the Gasket
Slide the gasket into its final spot between the pipe ends. Inspect the entire outer edge. Make sure it is not pinched, twisted, or partially stuck inside a groove. An unevenly seated gasket can form a bad seal. This greatly increases the risk of leaks.
Step 5: Install the Coupling Housing
Set the housing segments over the gasket. Check that the housing keys drop into the grooves on both pipe ends. Next, install the provided bolts and nuts. Do not judge the joint simply by looking at the bolt pads. Proper groove engagement is absolutely critical.
Step 6: Tighten the Bolts Evenly
Tighten the nuts slowly and evenly. Alternate your wrench between the two sides. VICAST guidelines for grooved joints state that uneven bolt tightening can cause uneven gasket squeezing. This often creates leak points.
Do not rely on a generic torque number taken from a different coupling. The final tightening rules depend on the specific coupling design, its size, and the included hardware.
What Common Installation Mistakes Should Be Avoided?
Most grooved-joint failures start with bad pipe preparation. They also stem from gasket mistakes, poor alignment, or wrong tightening methods.
Why Can a Gasket Cause Leakage?
A twisted, pinched, dirty, or poorly placed gasket will not seal evenly. Furthermore, a wrong gasket or an incorrect lubricant can create another weak spot. Always check the gasket condition before you fully tighten the housing.
Why Is Pipe Alignment Important?
A grooved coupling is meant to connect properly prepared pipe ends. It is not designed to fix large pipe offsets. Bad alignment makes the housing hard to close. It can also put unwanted stress on the finished joint.
How Should the Finished Grooved Joint Be Checked?
After you finish tightening, look at the assembly from every angle. Verify that the housing stays fully seated in both grooves. Ensure the hardware is installed right. Also, confirm that the pipe alignment has not shifted.
Should the System Be Pressure Tested?
Yes. The finished piping system needs testing based on the required project rules before normal use begins. The test pressure must stay within the safe limits of the installed parts. Pressure testing can uncover leaks or assembly flaws. These problems might not be visible during a basic visual check.
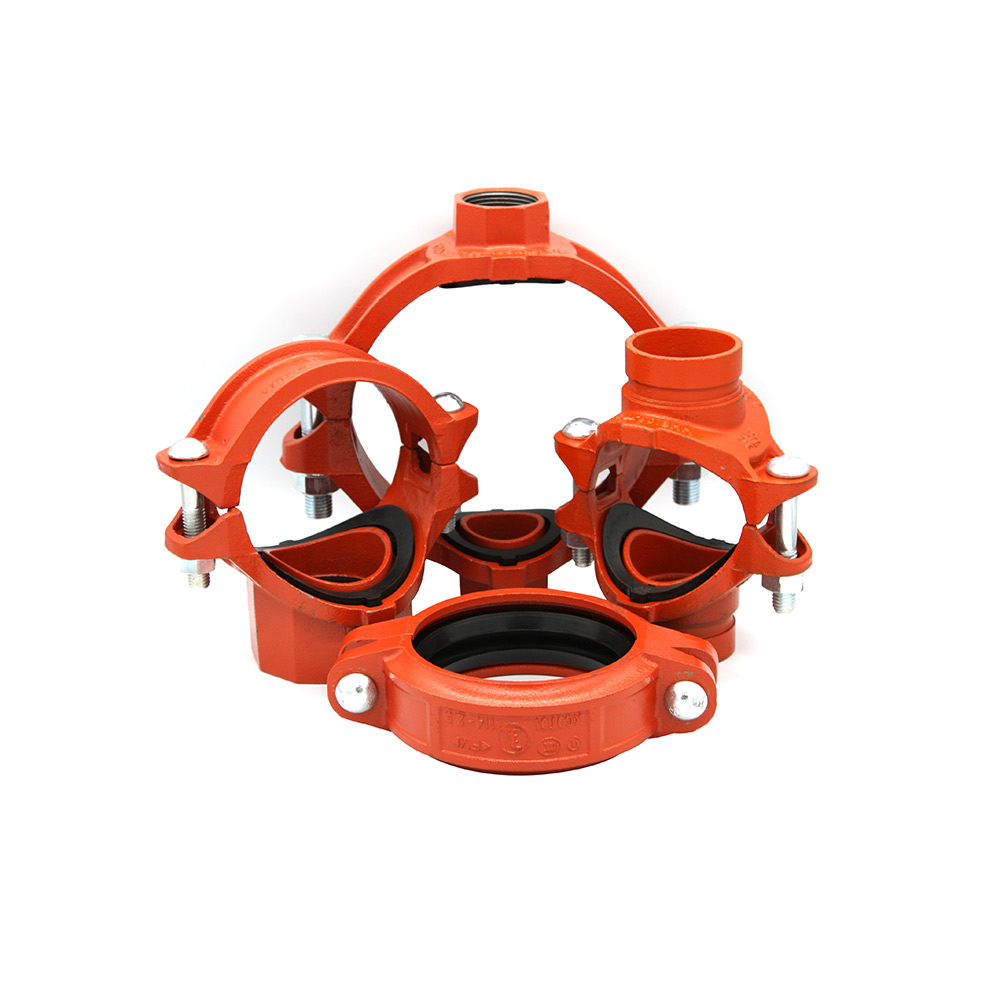
Why Choose VICAST for Grooved Couplings?
Hebei Jianzhi Gießerei Gruppe Co., Ltd. is linked to the VICAST brand. The company states it was established in 1982. It delivers Rillenfittings to global markets. Its official website shows quality-control methods that follow ISO 9001. It also highlights environmental-management practices that align with ISO 14001.
For distributors, contractors, and project buyers, VICAST provides a wide grooved fitting selection. The products feature documented materials, clear dimensions, and verified standards. This makes the brand a solid supplier to consider for fire protection, HVAC, and industrial piping jobs.
Schlussfolgerung
Proper grooved coupling installation involves much more than just turning bolts. Clean pipe ends and accurate grooves are vital. Correct gasket placement, good alignment, complete housing engagement, and even tightening all build joint strength.
The manufacturer’s guidelines and the project specification must always serve as the final guide. When you match the correct coupling with careful installation, a grooved joint delivers a strong and useful mechanical connection.
Häufig gestellte Fragen
1. Can a Grooved Coupling Be Installed Without Welding?
Yes. The coupling creates a mechanical link between prepared grooved pipe ends. Therefore, the joint itself needs no welding.
2. Can I Use the Same Torque Value for Every Grooved Coupling?
No. Tightening needs change based on the coupling design, its size, and the hardware used. Always follow the instructions for the specific product.
3. What Should I Check First If a Grooved Joint Leaks?
First, safely remove pressure from the system. Then, inspect the gasket, the groove quality, the housing engagement, the pipe alignment, and the bolt tightness.