


The Role of Malleable Iron Pipe Fittings in Compressed Air Systems for Manufacturing Plants
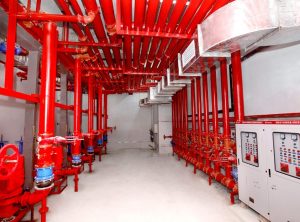
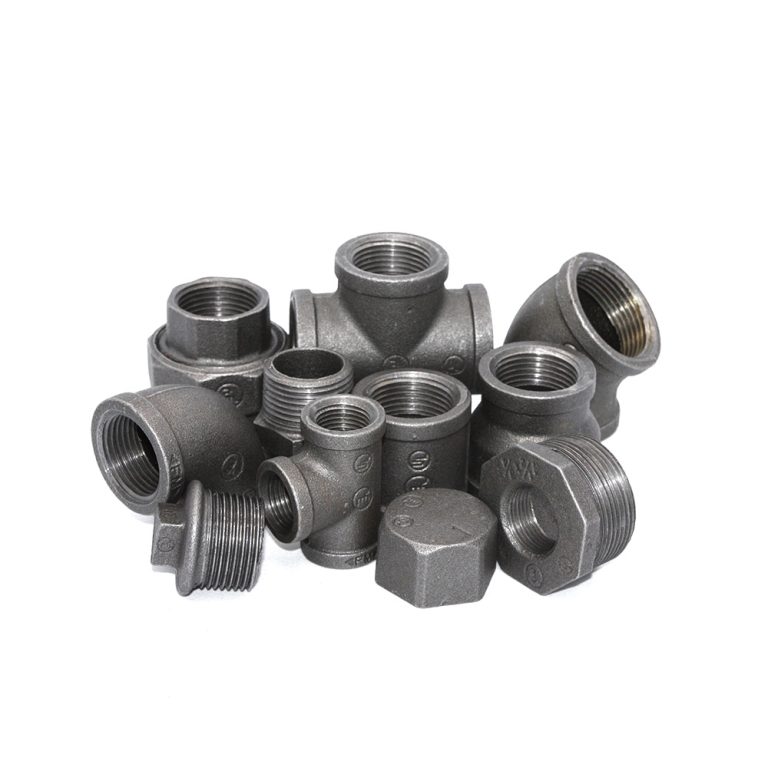
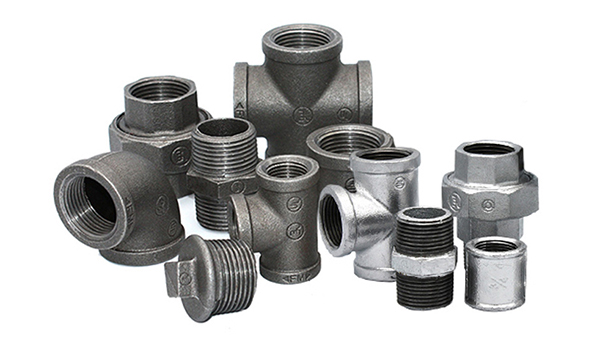
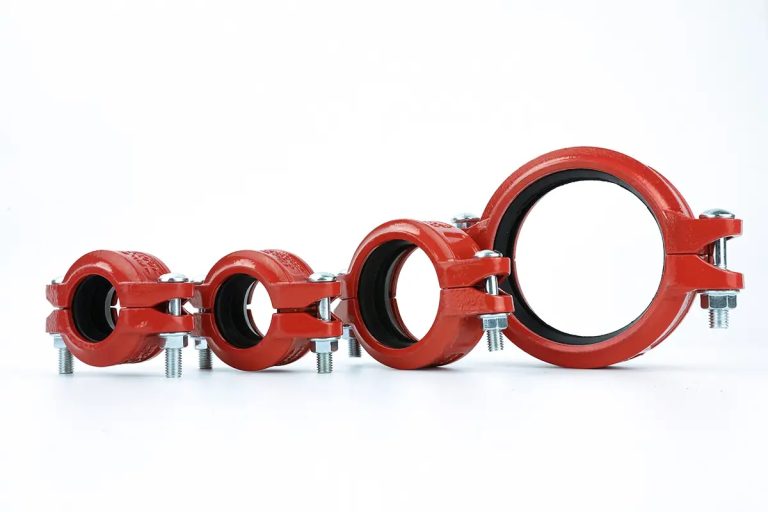
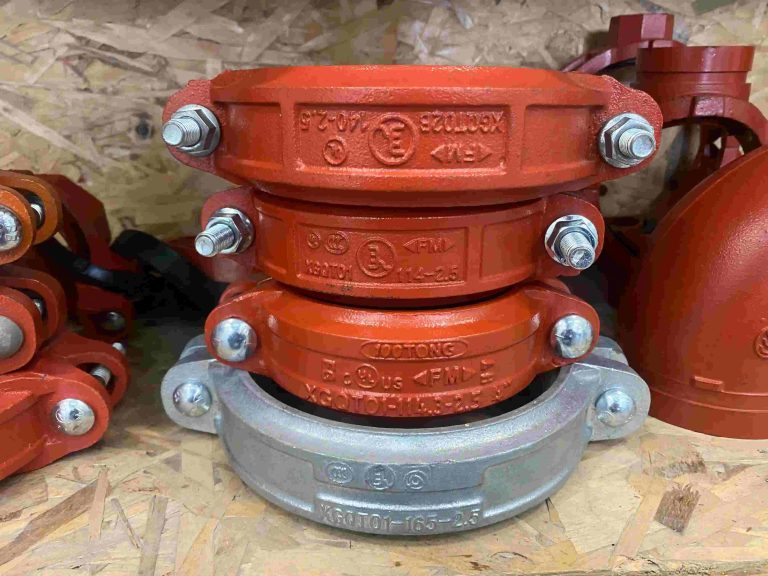
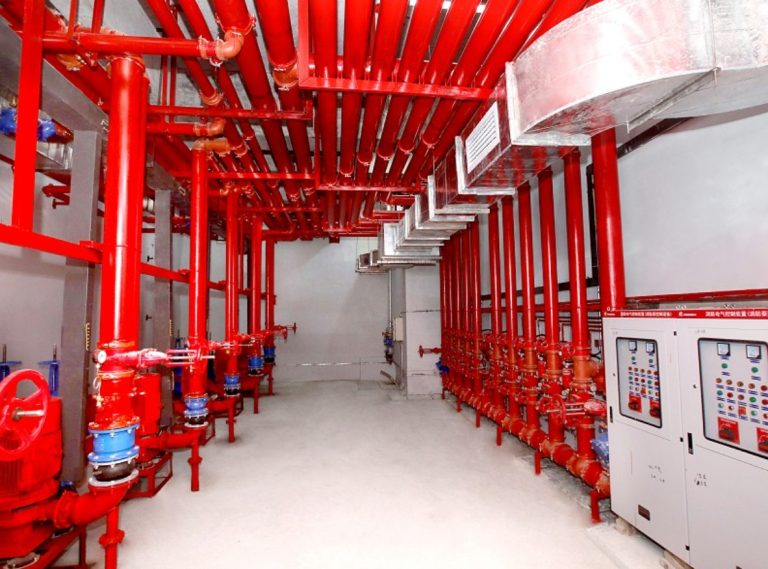
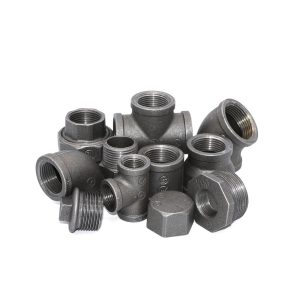
Compressed air systems keep the wheels turning in just about every manufacturing plant out there, feeding torque wrenches, cylinders, conveyors, and every other pneumatic device on the floor. The role of malleable iron pipe fittings in compressed air systems for manufacturing plants comes down to being the tough, threaded workhorse that ties black iron pipe together and takes the daily beating of 120–150 psi, constant vibration, and the occasional slug of condensate without popping loose or rusting out overnight. Elbows, tees, unions, couplings, reducers—these are the pieces that make the drops to each station and keep the whole network from bleeding pressure. Understanding Malleable Iron Pipe Fittings in Compressed Air Contexts Malleable iron fittings start life as whiteheart castings, then get annealed long and slow until the carbon turns into those little graphite clusters that give the stuff its give. That heat treat is what separates them from regular gray iron—gray