
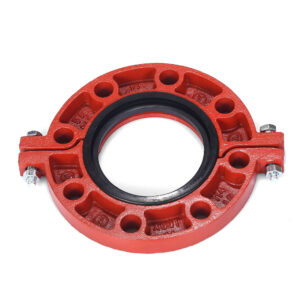
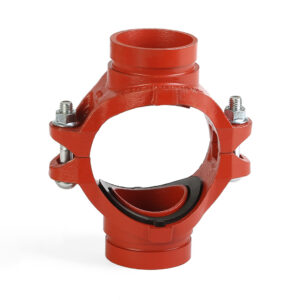


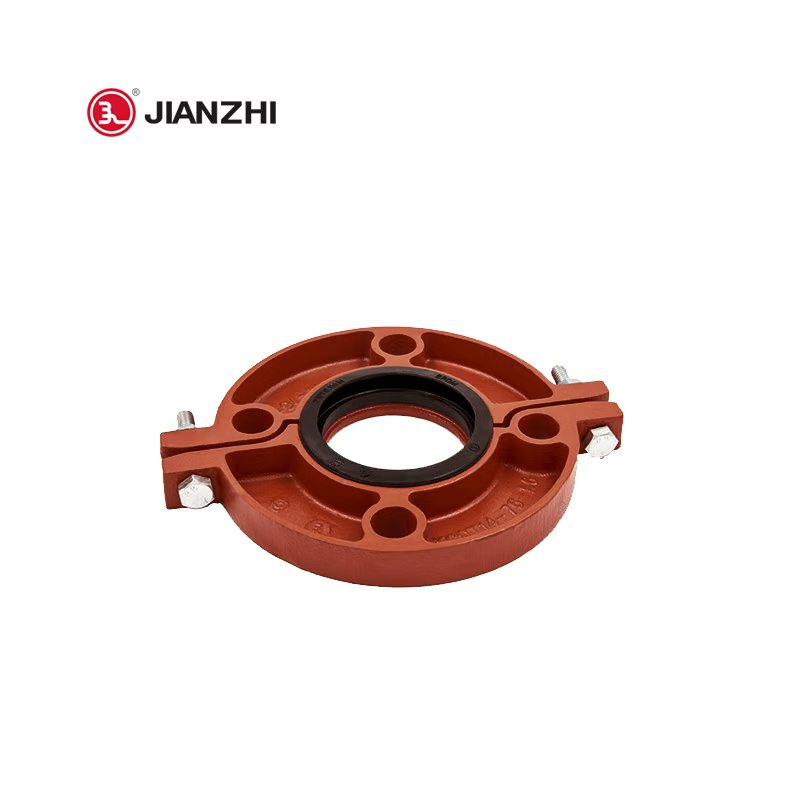
A brida ranurada links a grooved-end pipe to a standard flanged valve, pump, meter, or similar component. Proper setup is very important. The groove, flange body, gasket, and bolts need to function together as a single sealed joint. This manual explains the basic steps for checking, aligning, tightening, and testing. You should always read the specific instructions provided for your exact flange model.
What Should You Check Before Installation?
Thorough preparation stops leaks. It also prevents gasket damage and costly rework. Before you start the assembly, make sure the flange matches the piping system. Check that every related component is suitable as well.
Check Size, Rating, and Standards
First, confirm the pipe outside diameter and the groove profile. You also need to check the flange drilling pattern, pressure rating, and gasket service. VICAST provides grooved flange adapters rated at 225 psi and 363 psi. They also offer a PN16 split flange. The included grooved flange product sheet on pages 1-2 shows sizes from 2 to 12 inches, or DN50 to DN300. It includes ASTM A536 Grade 65-45-12 and ASTM A395 Grade 65-45-15 material choices. Furthermore, the document references ISO 6182, AWWA C606, and GB 5135.11.
Inspect the Pipe and Mating Flange
Start by isolating the line. Next, depressurize and drain the system completely. Wipe the pipe end clean. Then, look closely at the groove for any signs of bending, rust, or dirt. Watch out for thick coating buildup and sharp edges. The gasket seating area must remain perfectly smooth. Finally, examine the mating flange face. Look for any flaws that could allow fluids to escape.
Confirm Gasket Compatibility
Always use a gasket that is fully approved for the specific flange, fluid type, and operating temperature. The provided product data shows a working range of -20°F to +180°F, or -29°C to +82°C, for these referenced items. However, your actual temperature limits must align with the chosen gasket. They must also meet the overall project specification.
Which Tools and Materials Are Required?
Getting everything ready ahead of time keeps the gasket completely clean. It also ensures the pipe stays well supported. For larger sizes, you might need special lifting equipment. Temporary supports are often helpful during this process.
Prepare the Installation Kit
A standard tool kit includes the grooved flange and the approved gasket. You will also need the correct bolts and nuts, along with a compatible lubricant. Grab your wrenches or sockets. Bring a torque wrench if the job requires it. Keep cleaning cloths, a wire brush, and basic measuring tools nearby. Never swap out fasteners, gaskets, or lubricants unless the supplier gives clear permission.
How Do You Install a Grooved Flange Step by Step?
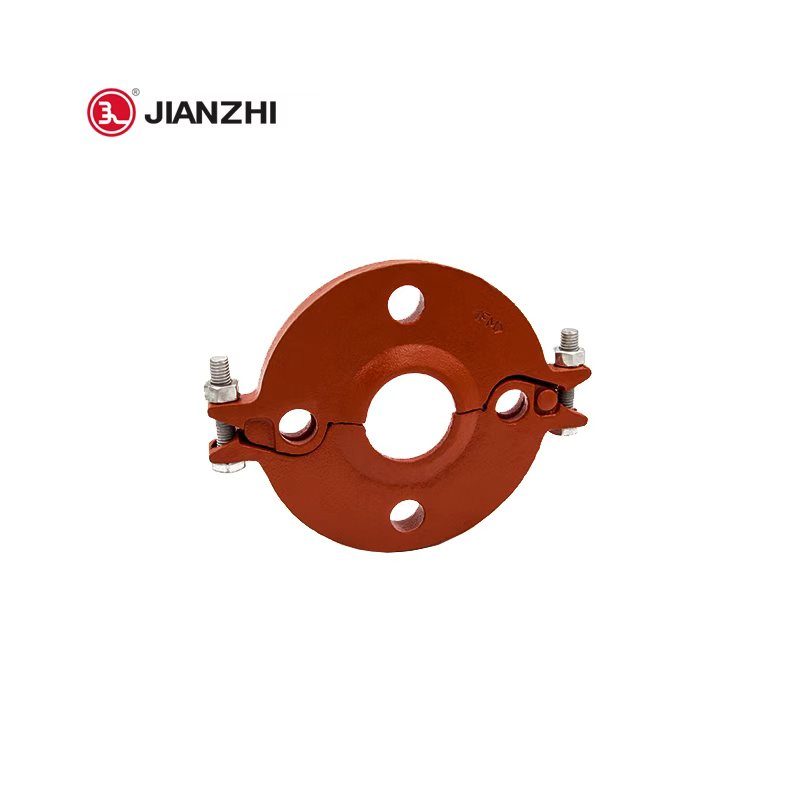
Grooved flange designs can be hinged, split, or multi-segmented. However, the basic installation sequence stays quite similar across all types. Make sure to support the pipe and the mating component properly. The flange itself should never be used to fix poor piping alignment.
Step 1: Clean and Recheck the Joint
Thoroughly wash the groove, the gasket seat, and the flange recess. Clean the mating face as well. Measure the pipe diameter again. Compare the groove dimensions directly against the official product data. Clear away any loose debris and sharp metal burrs. However, do not change the groove shape beyond the allowed limits.
Step 2: Lubricate and Position the Gasket
Spread a thin, smooth layer of compatible lubricant wherever it is needed. Too much grease will attract unwanted dirt. On the other hand, a completely dry gasket might pinch, roll, or tear during setup. Official manufacturer instructions for grooved joints highly recommend proper gasket placement. They also suggest light lubrication before starting the assembly.
Put the gasket onto the pipe end. Follow the exact orientation stated by the maker. Ensure it rests flat and does not hang over into the pipe groove.
Step 3: Install the Flange Body
Open or take apart the flange based on its specific design. Wrap it around the pipe end. Then, verify that the flange key drops fully into the groove. When working with a split flange, bring the pieces together evenly. Tighten the draw bolts just by hand. Leave a little bit of slack so you can align the bolt holes later.
Stop working if one part of the flange sits inside the groove while another part stays outside. Poor engagement can easily ruin the pipe end. It might even force the joint to break apart under high pressure.
Step 4: Align the Mating Flange
Move the mating component right into position. Do not use bolts to drag badly misaligned pipes together. Spin the grooved flange slowly until all the holes match up perfectly. Check the gasket to ensure it stays firmly in place. Confirm that both flange faces sit parallel to each other.
Heavy items like valves and pumps need their own separate supports. The grooved flange is meant to link these parts together. It should never hold up heavy equipment weight.
Step 5: Insert and Hand-Tighten the Bolts
Slide the specified flange bolts into the holes. Then, twist on the nuts. Tighten every fastener by hand at first. Look closely at the groove engagement once more. Check the gasket position and overall cleanliness before you apply the final tightening force.
Verify that every single bolt hole holds the right fastener. Bolts that are too short or too long will cause problems. Fasteners made from the wrong metal can also ruin a good assembly.
Step 6: Tighten in a Cross Pattern
Fasten the bolts slowly. Use an alternating or crisscross pattern. Complete several rounds of tightening. This method helps the joint close evenly. It also keeps the gasket compression perfectly balanced. Standard grooved-flange rules strongly suggest this alternating method. They also require nearly equal gaps between the bolt pads. Always use the specific torque or contact rule given for your exact product. Do not rely on a random generic number.
Never lock down one bolt completely while the rest stay loose. Doing so can easily tilt the flange. It might shift the gasket and create uneven sealing pressure.
Step 7: Inspect and Pressure-Test
Check that the whole flange sits square. Make sure all sections fit together evenly. Verify that every required bolt is present. Ensure the gasket stays securely trapped inside. Look over the connected pipe and equipment to confirm they have good support.
Increase the system pressure very slowly. Follow the official project testing rules. Watch the joint closely for any leaks. Look out for sudden movement or strange bending. If you need to make changes, release all pressure from the line first. Never try to tighten or take apart a grooved flange while the pipes hold active pressure.
What Installation Mistakes Should Be Avoided?
Avoid mixing different groove profiles. Never use an incorrect pressure rating. Do not install a torn or completely dry gasket. Never force crooked pipes together. Also, do not leave the flange key sitting partially outside the groove. Tightening the bolts unevenly can quickly bend the gasket and the flange.
Another frequent error involves guessing the bolt torque. You should always read the official product papers instead. Grooved flange designs and pressure classes change often. Bolt sizes and gasket styles vary as well. Specific product instructions always overrule basic general habits.
Why Choose Hebei Jianzhi Foundry Group Co., Ltd. as a Grooved Flange Supplier?
Hebei Jianzhi Fundición Grupo Co., Ltd. provides VICAST grooved flange products. These items work well for HVAC, fire protection, and industrial piping setups. The selection includes 225 psi, 363 psi, and PN16 options. The business was established in 1982. It boasts over 40 years of experience in making pipe fittings. The company shares clear specifications. These details cover precise sizes and specific ductile iron grades. They also highlight well-known design standards. This information greatly helps project buyers pick the right items based on strict written needs.
Conclusión
Setting up a grooved flange is fairly simple. You just need to control the product choice and the assembly process. Always inspect the groove and the flange face carefully. Pick the right gasket for the job. Ensure the flange engages the groove completely. Line up the connection without using heavy force. Fasten every bolt evenly. Finally, run a safe and thorough pressure test. Following these steps lowers the chance of leaks. It also promotes long-lasting and reliable daily service.
FAQs?
Can a Grooved Flange Be Reused?
You might be able to reuse the main flange body after a close check. However, you must throw away any damaged or rusted pieces. Replace distorted or untraceable parts immediately. Always follow the maker’s specific rules regarding the reuse of old gaskets and metal fasteners.
Does Every Grooved Flange Use the Same Bolt Torque?
No, they do not. The required torque relies heavily on the specific flange design and overall size. It also depends on the fastener type, the pressure class, and the manufacturer. You must read the installation sheet provided for your exact model.
Can a Grooved Flange Correct Pipe Misalignment?
No. A grooved flange can turn just a little bit to line up the bolt holes. However, it should never drag crooked or angled pipes into place. You need to fix the pipe supports first. Ensure perfect alignment before you start the final tightening phase.